|
Part Eight:
Finish your Quilt
top! |
|

|
Correction:
In month 6, when we pressed our seam after attaching the
corner units to the Wild Goose Chase Variation block, we
pressed then toward the corner units. They should be
pressed toward the Wild Goose Chase Variation block.
The seams will nest if you switch your pressing.
Click here for Pattern Instructions for Part Eight
 Final
assembly is not too tricky-- but use care when matching
these points Final
assembly is not too tricky-- but use care when matching
these points
 The
red pin in the photo is pulled all the way through the two
points to pull them tight. Then, I added the two white
pins to prevent the pieces from shifting. Keep the pins in
place until just before they reach the needle on your sewing
machine. The
red pin in the photo is pulled all the way through the two
points to pull them tight. Then, I added the two white
pins to prevent the pieces from shifting. Keep the pins in
place until just before they reach the needle on your sewing
machine.
I'm planning to bind this in the light
background fabric so those corner triangles become part of
the final frame.
If you need tips on binding visit
https://myquiltingbeehive.com/Binding.htm |
|
Part Seven:
Center Row |
|
 |
Click here for Pattern Instructions for Part Seven

 When
you are sewing the center diagonal line, sew just next to
the line toward the seam allowance. This allows for
the thickness of your thread and the fold to prevent having
your block a smidge too small When
you are sewing the center diagonal line, sew just next to
the line toward the seam allowance. This allows for
the thickness of your thread and the fold to prevent having
your block a smidge too small
  When
you have points to sew and can't have them on top to watch
as you sew, mark the point with a pin and a marking pencil
so you can be sure not to cut off the point. When
you have points to sew and can't have them on top to watch
as you sew, mark the point with a pin and a marking pencil
so you can be sure not to cut off the point.
 |
|
Part Six:
Corner Units |
|

make 2
 |
Click here for Pattern Instructions for Part
Six

 (click on the images to enlarge)
TIPS:
Watch your layout carefully-- it is easy to turn the
half square triangles around and sew them in the wrong
direction.
When you sew the rows together, place the wild goose
variation block on top.
This way you can watch the center point of the flying geese
units to avoid loosing your points. |
|
Part Five:
Wild Goose Chase
Variation blocks |
|

 |
Click here for Pattern Instructions for Part Five
The block we are making is a variation of the
traditional Wild Goose Chase block. |
TIPS:

When you sew the flying geese to
the double four-patch units, put the flying geese on
top.
Watch the points as you sew to make sure you do not
cut off your points
|

Make sure your double
four-patches do not get turned around when you are
making this block.
|
 Pin
carefully to match points around the center square. Pin
carefully to match points around the center square.
Put one pin in exactly through the points you are
matching.
Pull it in tight to line up the points (red pin head
in photo).
While holding the points tight, pin on each side of
the point to hold it (white pins in photo).
Leave the pins in until they are almost at the
needle when sewing so the fabric cannot shift. |
|
|
Part Four:
Sixteen Sets of three Flying Geese |
|


|
Click here for Pattern Instructions for Part Four
Our next step is to make flying geese.
TIPS:
***Refer to month one tips for how to piece and trim the
flying geese units.
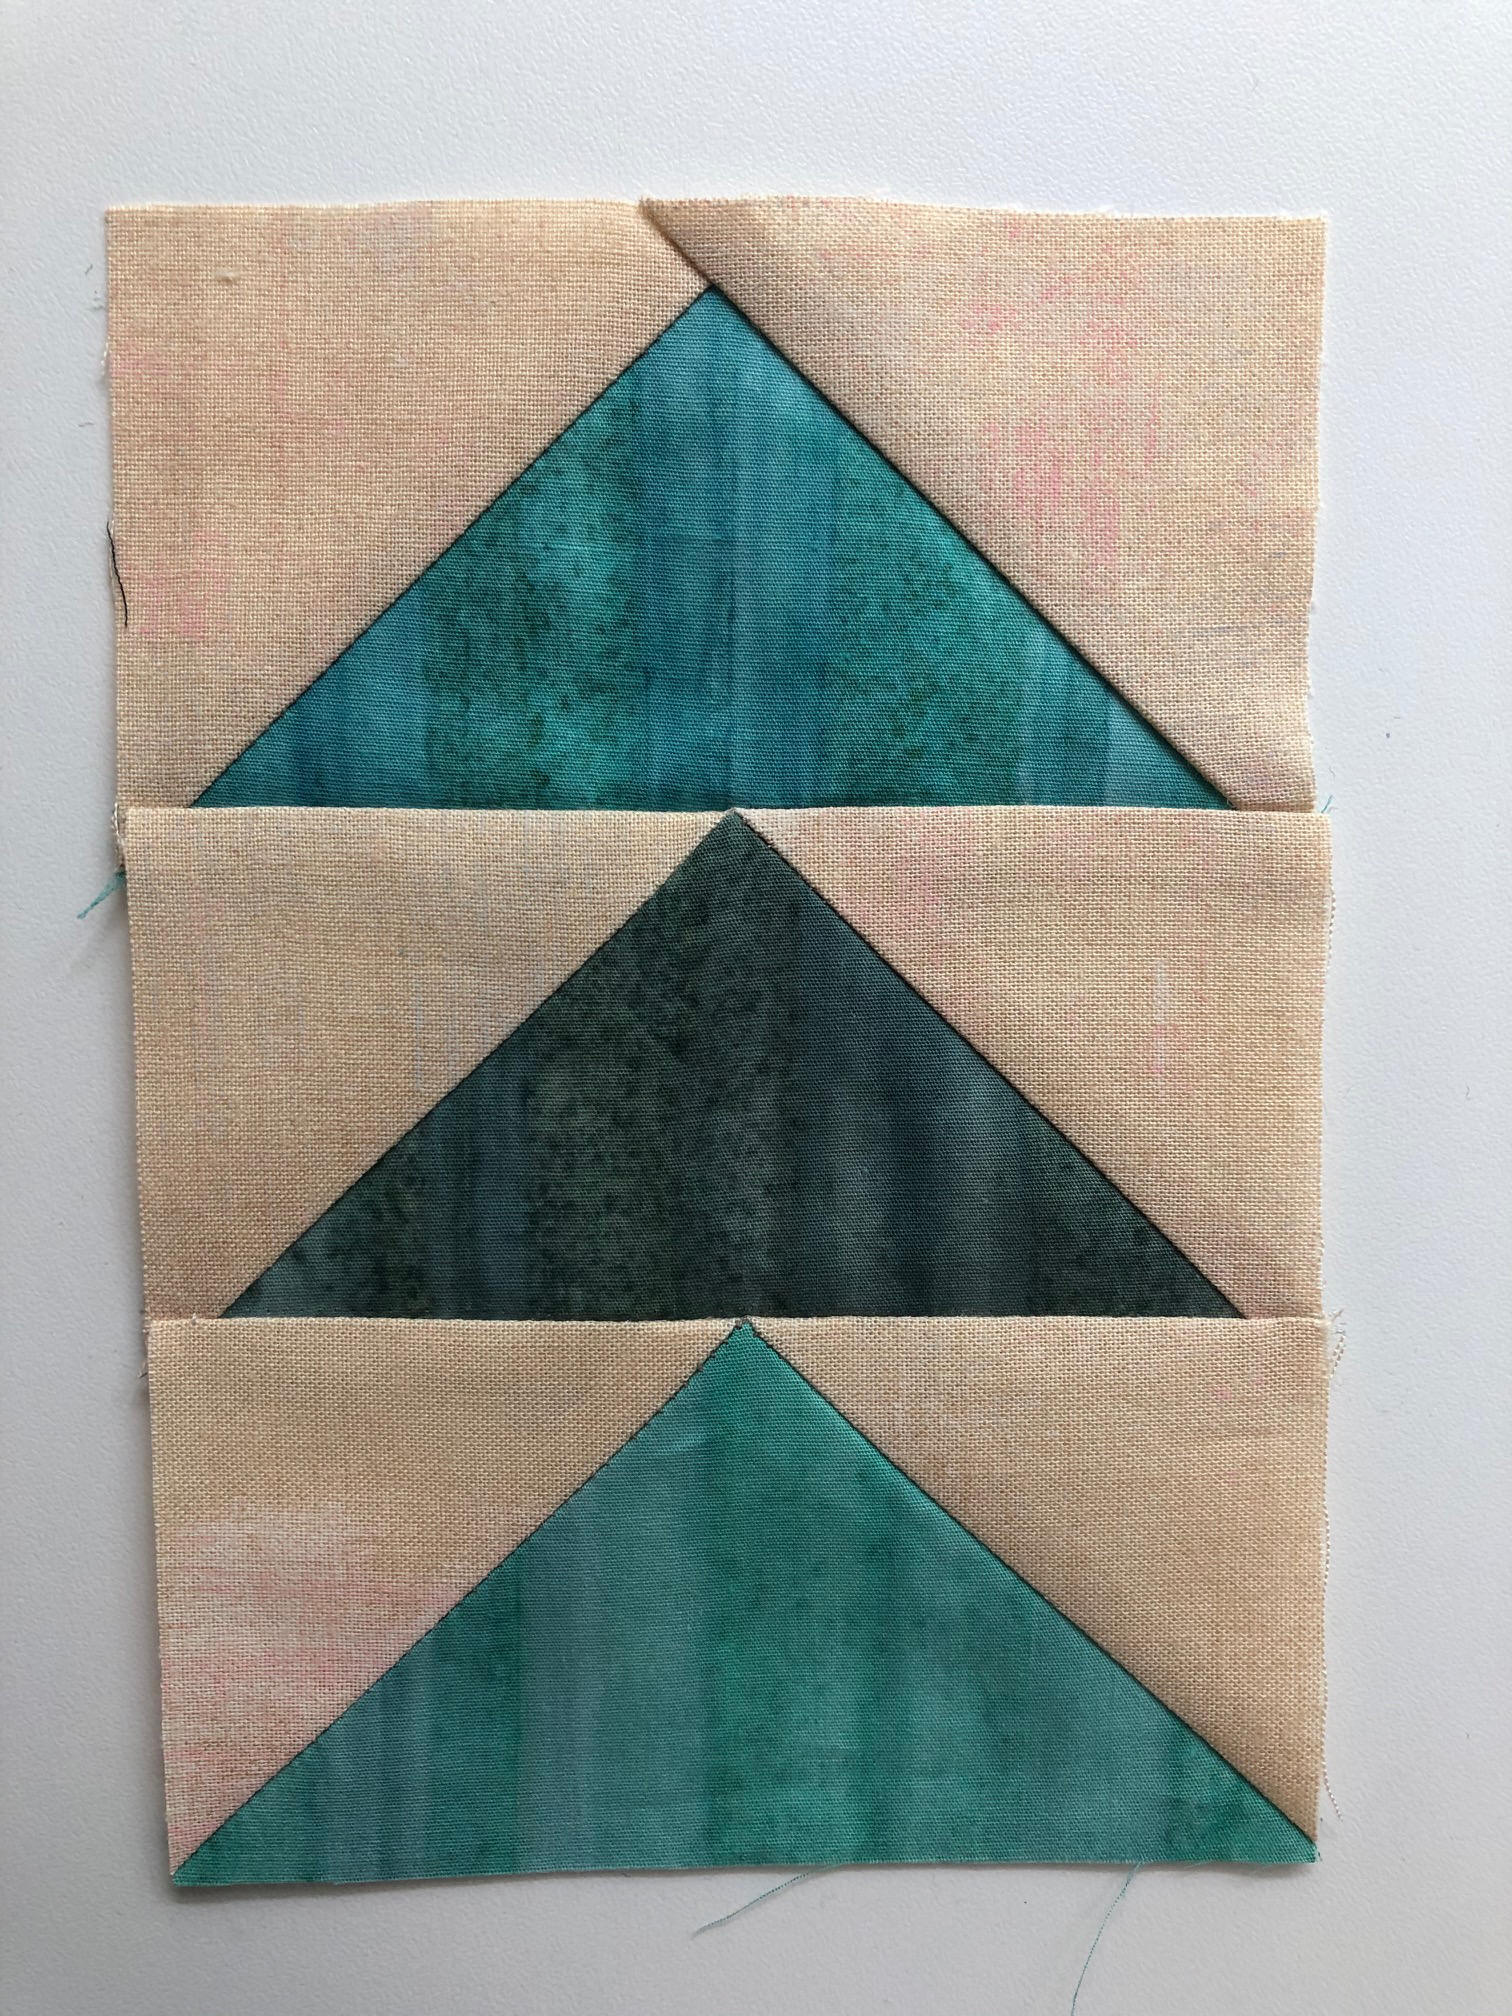
When piecing your flying geese, sew with the triangle point
on top so you can see where the two seams cross.
Sew your seam so it runs just a smidge to the right through
this intersection (leave just enough space for the thickness
of the thread). Instructions say to press seams to one side,
but you can press them open if you prefer.


|
|
Part Three: Double
Four Patches |
|

 |
Click here for Pattern Instructions for Part Three
This month you will make 16 double
four-patch blocks.TIPS:
We are "strip piecing" the four patch units. After you
sew your strips together, line up a horizontal line on your
ruler (I used the 4" line) on you ruler with the seam line.
Then you can shift your ruler at 2" increments. I
started by cutting at 8", then 6" then 4" then 2".


My ombre' fabric has light and dark--
I considered fussy cutting to use all light or all dark, but
finally decided to put one of each in each four patch. Chain
piecing (sewing one after the other without cutting the
threads) makes this a quick job.


You can press the seams to one side,
or press around in a circle in one direction to help reduce
bulk in the center.
You can check out this link for details on pressing seams of
your four patch
https://www.aquiltinglife.com/2015/02/four-patch-quilt-block-tips.html/

 |
|
Part Two:
Half Square Triangles |
.jpg) |
Click here for Pattern Instructions for Part Two
Instructions show how to make flying
geese 8 at a time.

Mark lines 1/4" on each side of the center diagonal
in both directions |

Sew on your marked lines |

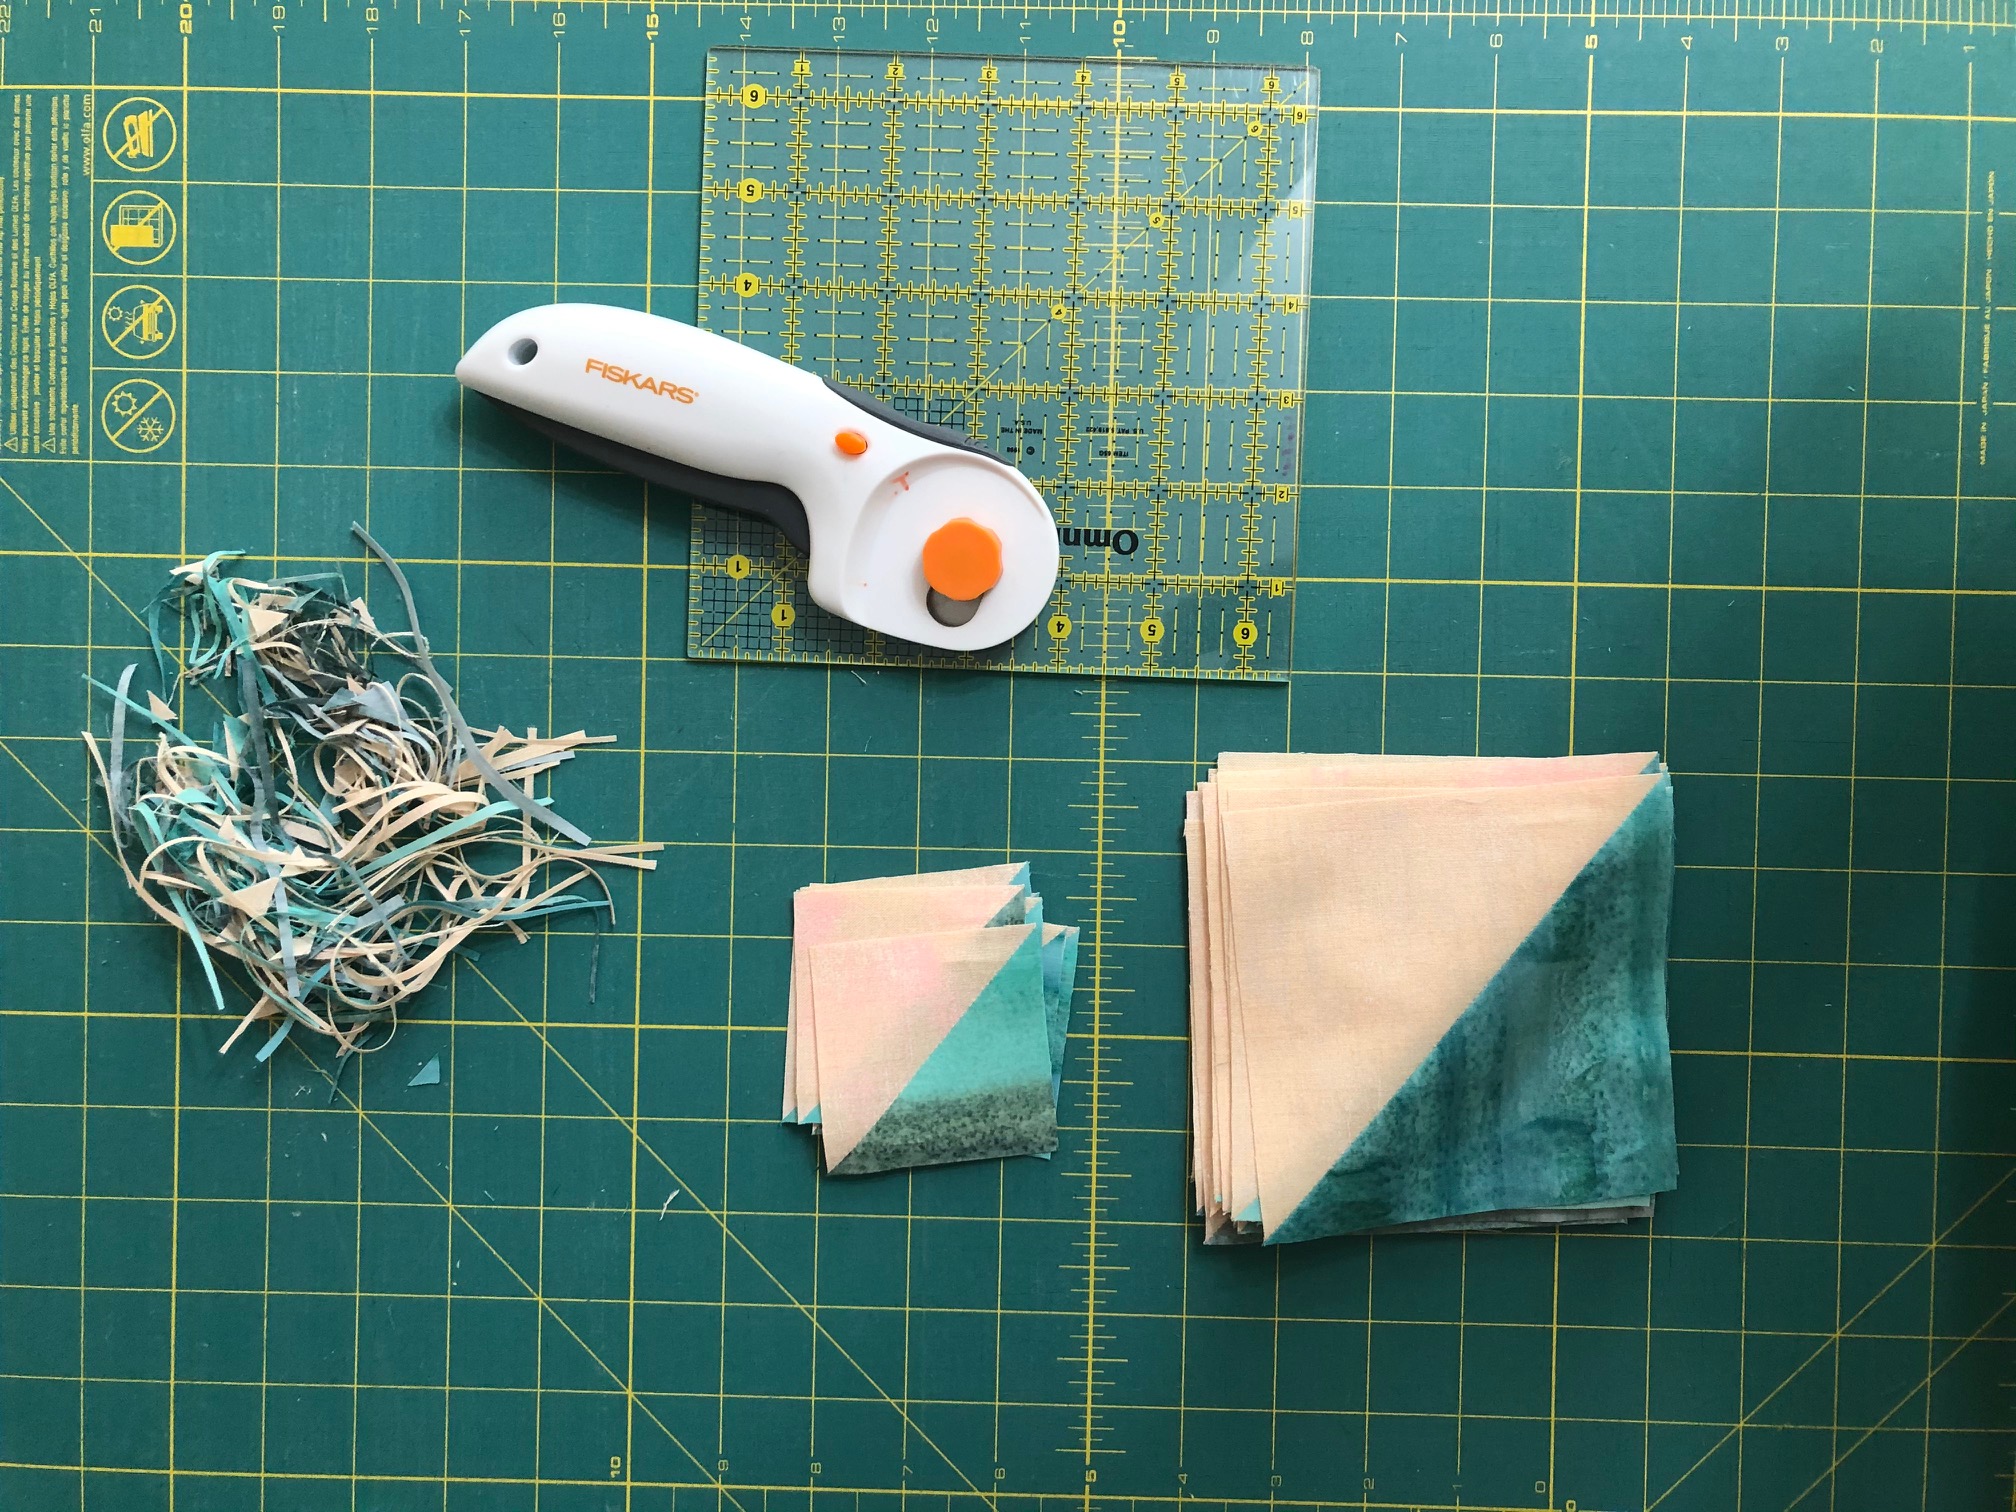
Cut in half horizontally,
vertically, and diagonally to make 8 triangles |

Line up the center diagonal with
the 45 degree line on your ruler to trim two sides |

Rotate block and line up ruler to
trim the remaining two sides |

Trim to make 24 large and 8 small
half square triangle units |
If you are making a scrappy quilt--
use a different fabric for each set.
If you would like more variety, you can make them two at a
time
If you make your half square triangles two at a time,
use twelve 5" squares for the large unit and four 3" squares
for the small units.
Mark and sew 1/4" from each side of one center diagonal,
then cut apart on the center diagonal.
|
|
Part One:
Our first step will be to make the center block for the
quilt! |
 |
Click here for Pattern Instructions for Part One
Making Flying
Geese four at a time
|
Tips for part one:

Pin to match points.
Seams are pressed in opposite directions so they
will nestle. |

Sew with the flying
geese unit on top so you can see the point when you
are sewing. |


Sew through the "x"
where the two angle seams cross to keep a nice sharp
point |
|
|
 |
The Plan:
This quilt will be presented in eight parts. New
instructions will be posted every three weeks. The final
instructions will be posted on September 10th. I will post reminders
on my Facebook and Instagram pages when the instructions are posted.
The finished quilt will be 68" x 68"
Recommended Ruler:
We will be making Flying Geese units in this quilt. I recommend the
Creative Grids Ultimate Flying Geese tool (https://www.creativegridsusa.com/products/CGRDH4)
or your favorite flying geese trimming tool.
My Inspiration:
When I was designing this quilt, I was inspired by traditional two
fabric quilts like those amazing red and white quilts I was lucky
enough to see on display at the Park Avenue Armory back in 2011. If
you haven’t heard of the “Infinite Variety” exhibit, go to this link
and be amazed:
https://folkartmuseum.org/exhibitions/infinite-variety-three-centuries-of-red-and-white-quilts/
While I love traditional quilts, it is the year
2021, and I wanted to make something more modern. I also love color…
so even as I was planning it out, I couldn’t help but want to add
more color… so this quilt has a few options for fabric. I am using
an ombre' batik that makes me think of the ocean and creamy sand
colored Moda Grunge
Fabric Requirements:
(I rounded up, so you don’t need to buy extra, unless you want to)
Click here to print fabric requirement handout
|

 Machines are buzzing and I am as busy
as a bee making your quilts beautiful!
Machines are buzzing and I am as busy
as a bee making your quilts beautiful!

 Home
Home